Installing pywwt
Try without installing
You can try out the pywwt Jupyter widget without installing anything locally by using one of our example notebooks, served from the cloud! Click here to launch our examples using the great MyBinder service. These notebooks are defined in the pywwt-notebooks repository on GitHub, which has further links and information about these samples.
Install pywwt with conda-forge (recommended)
The recommended way to install pywwt is using the conda package manager and packages provided by the conda-forge project. If you’re already using a conda-based Python environment, you can install the latest release of pywwt with:
conda install -c conda-forge pywwt
This will install pywwt, its dependencies, and the Jupyter extension. If you want to use pywwt inside JupyterLab — which we heartily recommend — see Set Up pywwt’s JupyterLab Integration below.
We recommend that you permanently enable conda-forge in your Python environment to ensure that your packages are self-consistent and get the latest updates. Be advised that activating conda-forge may update a whole bunch of your software at once, which might be something to avoid right before a proposal deadline.
If you aren’t using a conda-based Python environment, it’s easy to set one up. The Anaconda Distribution is popular and widely supported, or you can use Miniforge or Miniconda for a smaller download. These environments install in a fully self-contained manner, so you can try them out without modifying your computer’s existing Python installation(s).
Install pywwt with pip
You can also install the latest release of pywwt using pip:
pip install pywwt
While pip will automatically install most dependencies as needed, to use the
Qt widget you will need to install PyQt and PyQtWebEngine, or PySide separately. See the full list of dependencies
below.
Set Up pywwt’s JupyterLab Integration
To use pywwt in an interactive computing environment, we recommend combining it with JupyterLab. It’s worth noting that the JupyterLab web application is a separate thing than just “Jupyter,” the lower-level system upon which it is built. Learn how to install JupyterLab here.
Once you’ve installed JupyterLab, you need to install a couple of other supporting components beyond pywwt to get the best experience: the WWT Kernel Data Relay (KDR) extension, the WWT JupyterLab Extension, and the JupyterLab widget manager extension. The following commands should ensure that everything is set up:
pip install wwt-kernel-data-relay  # or use conda
jupyter labextension install --no-build @jupyter-widgets/jupyterlab-manager
jupyter labextension install --no-build @wwtelescope/jupyterlab
jupyter lab build
If the installation is successful, then the next time you start up JupyterLab the “Launcher” display should now contain a WorldWide Telescope icon:

Clicking on this icon should open up the WWT research app, which you can then
control using pywwt, via pywwt.jupyter.connect_to_app().
Set up the pywwt Jupyter Widget
If you are using a Jupyter notebook, either within JupyterLab or in “vanilla “Jupyter, you may also wish to set up pywwt’s “Jupyter widget” support. This integration should be set up automatically if you install pywwt through one of the standard methods, but it can be somewhat finicky. As with the JupyterLab support, you should install the WWT Kernel Data Relay (KDR) extension:
pip install wwt-kernel-data-relay # or use conda
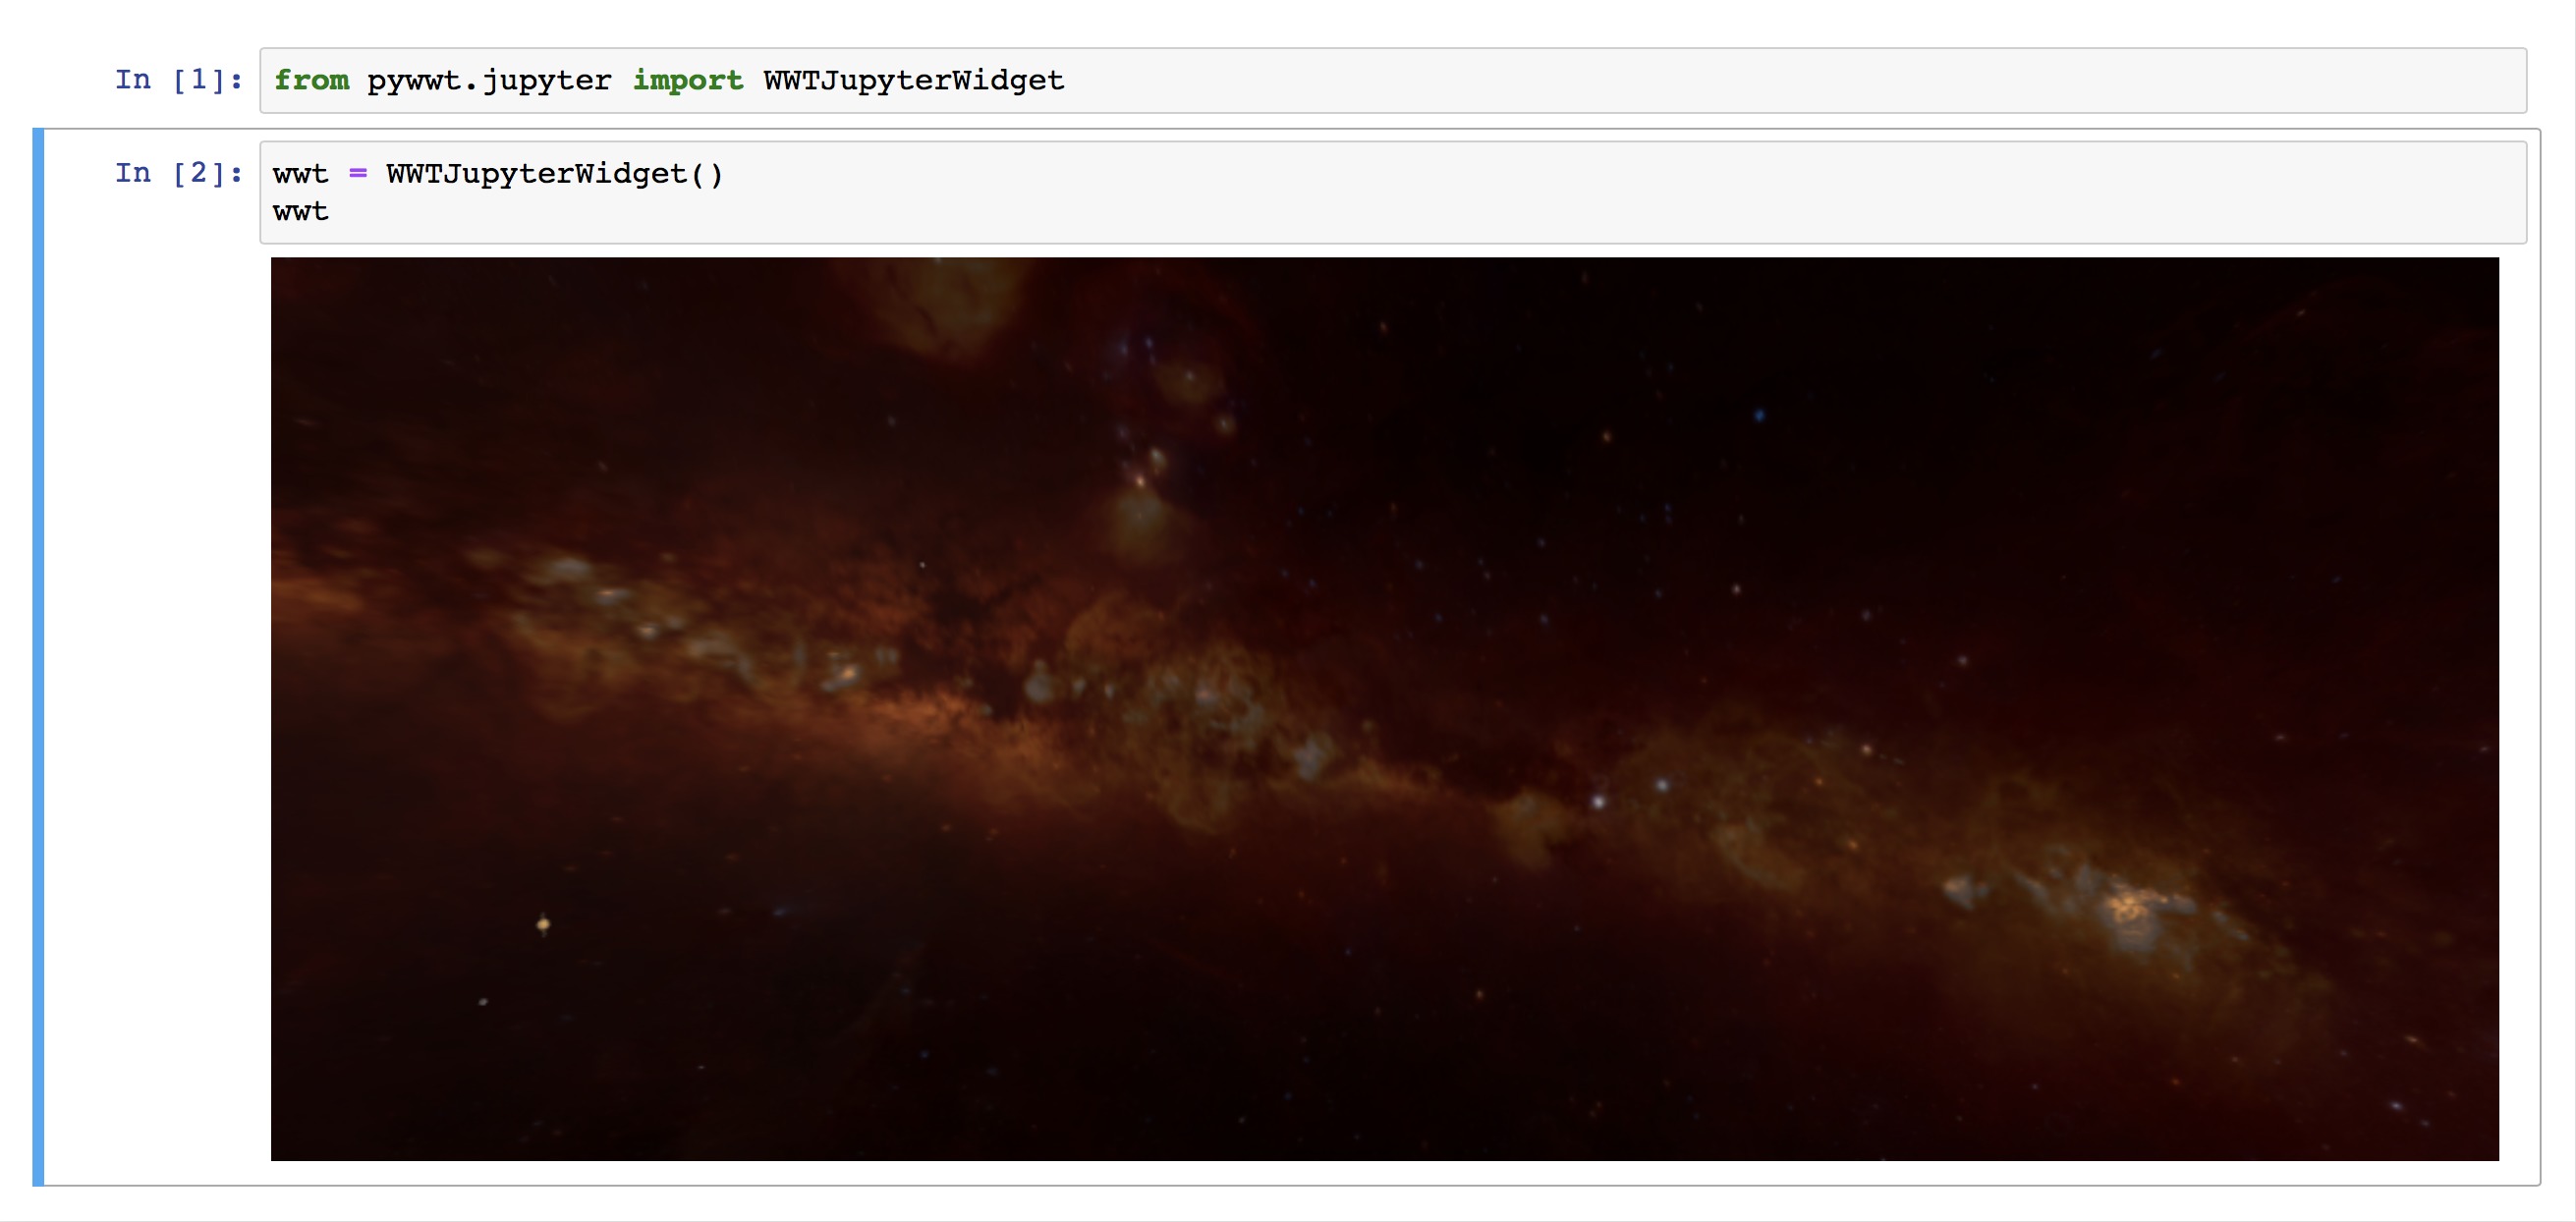
To check whether the widget is working, run the following Python commands inside of a Jupyter notebook:
from pywwt.jupyter import WWTJupyterWidget
wwt = WWTJupyterWidget()
wwt  # just "print" this variable on its own line
If everything is working, you should see a WWT window open up inside your notebook, like so:
If you get any other result, some troubleshooting may be necessary.
Troubleshooting the Jupyter Integration
The first thing to check is the “notebook extension”. Run:
jupyter nbextension install --py --sys-prefix pywwt
jupyter nbextension enable --py --sys-prefix pywwt
jupyter nbextension list
These commands should not report any error messages, and should indicate at the
end that the pywwt extension is installed, enabled, and validated. The
ipyevents extension should also be available. Unfortunately, if there is a
problem at this stage, there might be a lot of possible reasons. For help, try
filing an issue on our GitHub with a copy-paste of
the output from the commands above.
Next are the Jupyter “server extension”s, which are controlled similarly:
jupyter serverextension enable --py --sys-prefix pywwt
jupyter serverextension list
Here too, the commands should report that the pywwt and
wwt_kernel_data_relay extensions are installed and enabled, without any
apparent errors.
The recommended way to use pywwt inside of JupyterLab (not vanilla Jupyter) is with the help of the separate WWT JupyterLab Extension:
jupyter labextension install --no-build @wwtelescope/jupyterlab
jupyter labextension list
Finally, if you wish to use the specific combination of the pywwt widget (not app) inside of JupyterLab (not vanilla Jupyter), you may also need to ensure that pywwt is installed as its own, different, “lab extension”, along with additional helpers:
jupyter labextension install --no-build @jupyter-widgets/jupyterlab-manager
jupyter labextension install --no-build ipyevents
jupyter labextension install --no-build pywwt
jupyter labextension list
If the above commands seem to be OK but report that a “build” is needed, that is OK:
jupyter lab build
Dependencies
If you install pywwt using pip or conda as described above, any required dependencies will get installed automatically (with the exception of PyQt/PySide if using pip). For the record, these dependencies are as follows:
Python 3.7 or later
NumPy 1.9 or later
Matplotlib 1.5 or later
Astropy 1.0 or later
ipywidgets 7.0.0 or later
In addition, if you want to use the Qt widget, you will need:
PySide or PyQt and PyQtWebEngine (both PyQt4 and PyQt5 are supported)
QtPy 1.2 or later
For the Jupyter widget, you will need:
Installing the developer version
If you want to use the very latest developer version version, you can clone this repository and install the package manually (note that this requires npm to be installed):
git clone https://github.com/WorldWideTelescope/pywwt.git
cd pywwt
pip install -e .
If you want to use the Jupyter widget with a recent installation of the Jupyter stack, you will also need to run:
jupyter nbclassic-extension install --py --symlink --sys-prefix pywwt
jupyter nbclassic-extension enable --py --sys-prefix pywwt
jupyter nbclassic-extension list  # check that the output shows pywwt as enabled and OK
jupyter nbclassic-serverextension enable --py --sys-prefix pywwt
jupyter nbclassic-serverextension list  # check that the output shows pywwt as enabled and OK
On older versions of Jupyter, use the nbextension subcommand instead of
nbclassic-extension, and use just serverextension instead of
nbclassic-serverextension.
And if you additionally want to use the widget in JupyterLab, run:
jupyter labextension install frontend
jupyter labextension list  # check that the output shows pywwt as enabled and OK
Besides pywwt, the WWT Kernel Data Relay server extension and the WWT
JupyterLab extension are both strongly recommended, but not technically
necessary. If you want to use pywwt as a widget in JupyterLab, the
@jupyter-widgets/jupyterlab-manager and ipyevents lab-extensions must be
installed and enabled.